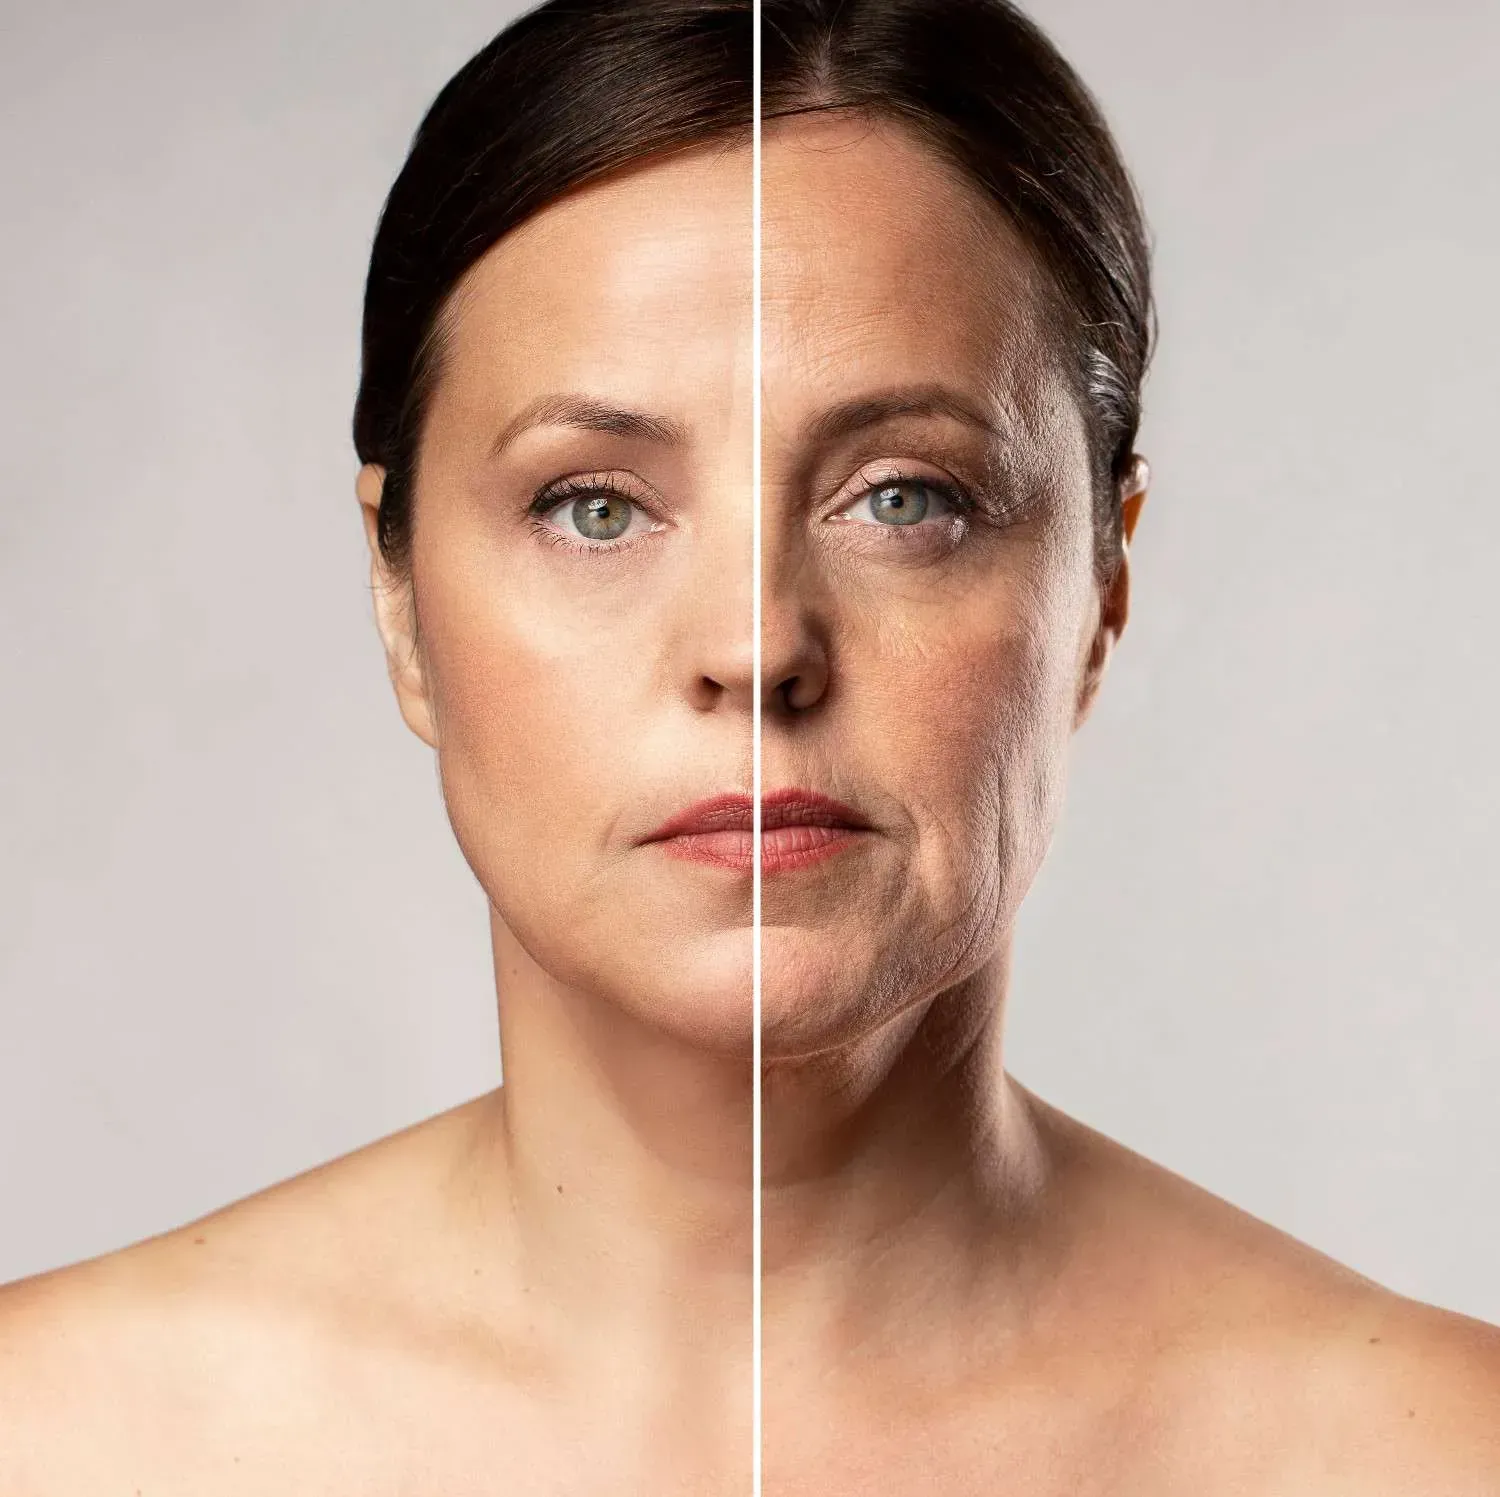
Natural Serums + Microneedling: Your Guide to Better Skin
Yes, combining microneedling with natural serums can dramatically boost your skin's healing and make your results even better. This powerful technique enhances skincare results by creating micro-channels that allow up to 300% more product absorption. When you pair this treatment with the right natural ingredients, you get amazing benefits without harsh chemicals.
This guide will show you exactly how to combine microneedling with natural serums safely. You'll learn which ingredients work best, when to use them, and how to get glowing skin naturally.
What Makes Natural Serums Perfect for Microneedling
At Signal Skin Science, we believe in working with the skin, not against it, using an intelligent approach to skin health that leverages signaling molecules and pathways. Natural serums fit perfectly with this approach.
Why Natural Ingredients Work Better
Natural serums contain ingredients your skin already knows and loves. Since our bodies produce ingredients like hyaluronic acid naturally, they're a great natural option for anti-aging skincare. Your skin accepts these ingredients more easily than synthetic ones.
When microneedling opens tiny channels in your skin, natural serums can:
- Soothe irritation without causing more problems
- Help your skin heal faster
- Boost collagen production naturally
- Give you long-lasting results
The Science Behind Enhanced Absorption
Microneedling creates micro-channels which allow up to 300% more product absorption. This means your natural serums work much better than normal. The tiny needles create pathways that let good ingredients reach deeper skin layers where they can do the most good.
According to research published by the National Center for Biotechnology Information , histological examination shows that microneedling treatments can produce up to 400% increase in collagen and elastin deposition at 6 months after treatment, with normal rete ridges maintained at 1 year post-treatment.
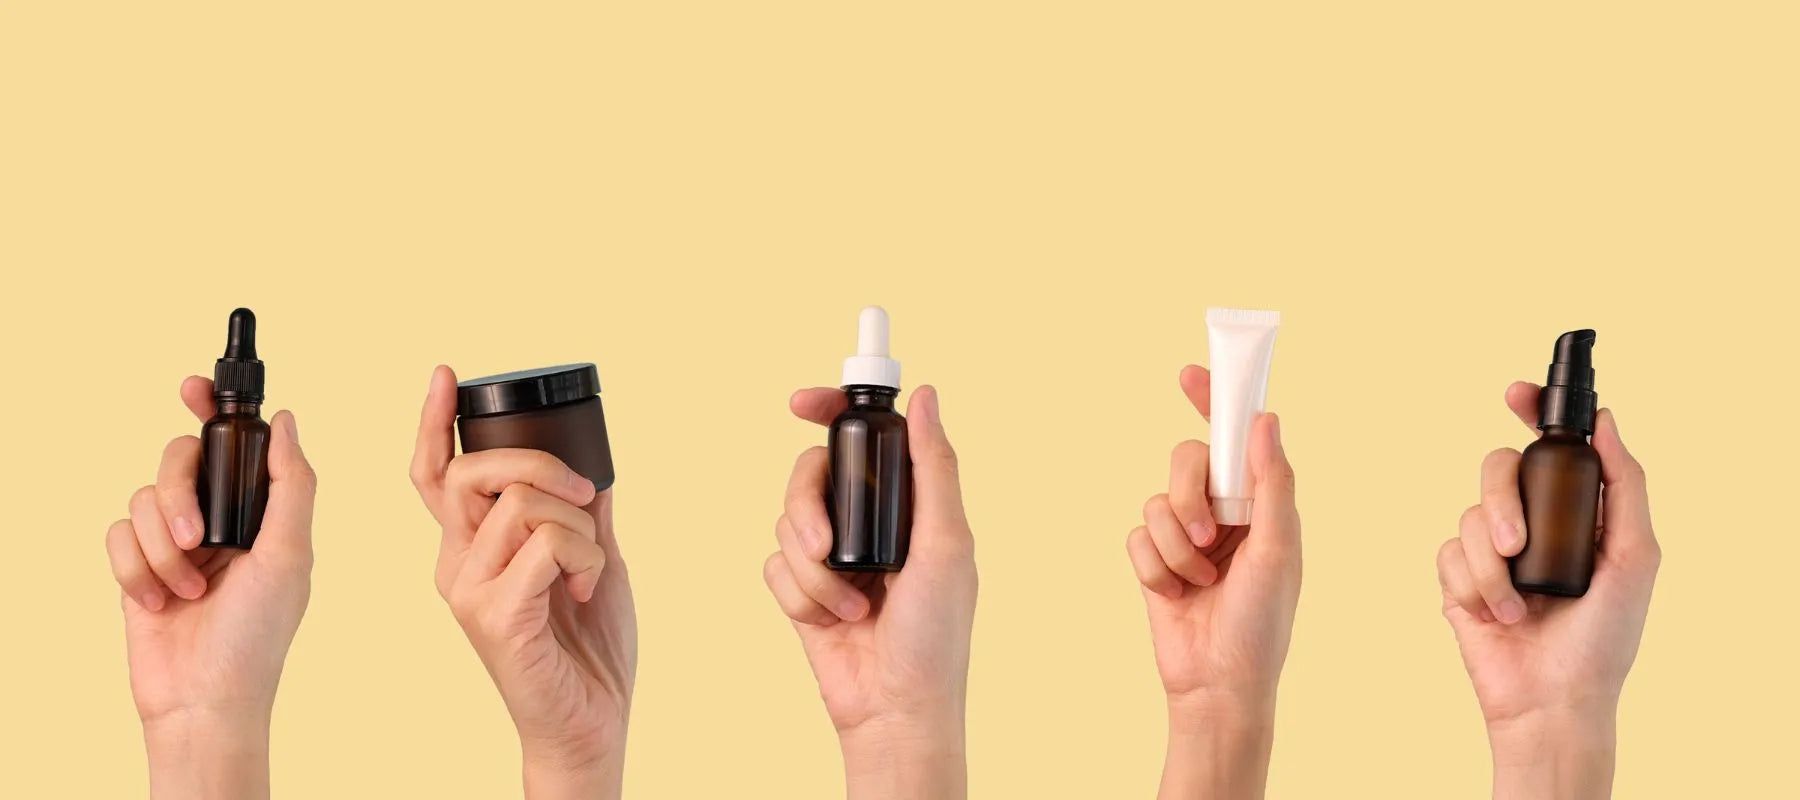
Top Natural Serums for Microneedling
Here are the best natural ingredients to use with your microneedling treatments:
Hyaluronic Acid - The Ultimate Hydrator
Hyaluronic acid is a naturally occurring substance in our bodies, crucial for maintaining moisture and support in the skin. It's the number one choice for post-microneedling care.
Why it works so well:
- Works as a humectant, meaning it draws and holds onto water—up to 1,000 times its weight
- Reduces redness and inflammation
- Helps wounds heal faster
- Safe for all skin types
According to Harvard Health Publishing , hyaluronic acid is capable of binding over one thousand times its weight in water and is generally well tolerated, doesn't frequently cause allergic reactions, and is safe to use during pregnancy and breastfeeding.
Best timing: Apply immediately after treatment and for the first week of healing.
Aloe Vera - Nature's Healer
Aloe vera extract soothes and calms all the irritation caused by the treatment. It's been used for centuries to heal damaged skin.
Benefits include:
- Kills the bacteria that causes acne and lightens the appearance of age spots and blemishes
- Reduces inflammation quickly
- Helps soothe skin and aids wound healing
- Provides cooling relief
Important note: Some experts suggest avoiding aloe vera for the first 2 weeks after treatment as it dramatically reduces inflammation, and a certain amount of inflammation is necessary for collagen induction therapy to take place. Start using it after day 4 for best results.
Vitamin C - The Brightening Powerhouse
Vitamin C is one of the most powerful antioxidants and collagen stimulators available. When used properly, it can amazing results.
What it does:
- Helps brighten the skin and stimulate collagen synthesis
- Fights free radical damage
- Evens out skin tone
- Reduces dark spots
Safety tip: Wait at least 72 hours before using vitamin C after microneedling, and start with diluted forms. Your skin will be sensitive, so take it slow.
Natural Oils - Deep Nourishment
Oils are excellent to use on the skin after microneedling. They nourish the skin more deeply than water based moisturisers and can reduce the side effects of microneedling.
Best natural oils for microneedling:
Jojoba Oil:
- Actually a wax that mimics your skin's natural oils
- Won't clog pores
- Can provide essential nutrients to your skin and aid in its recovery
Vitamin E Oil:
- Green tea oil contains a wide array of nutrients including vitamin C and E to aid the skin's healing
- Protects against free radicals
- Helps scars heal better
Rosehip Oil:
- Rich in vitamins A and C
- Can provide essential nutrients to your skin and aid in its recovery
- Great for reducing scars and fine lines
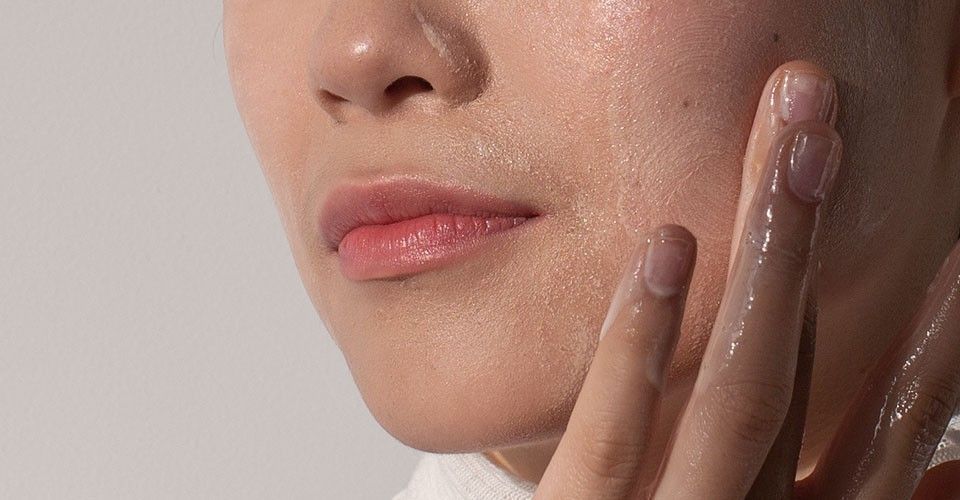
How to Use Natural Serums with Microneedling
Before Your Treatment
Prep your skin properly:
- Stop using harsh products 48 hours before
- Focus on supporting healing with a diet rich in healthy fats and nutrients, and avoid sugars and alcohol
- Gather your gentle, natural products ahead of time
During Treatment
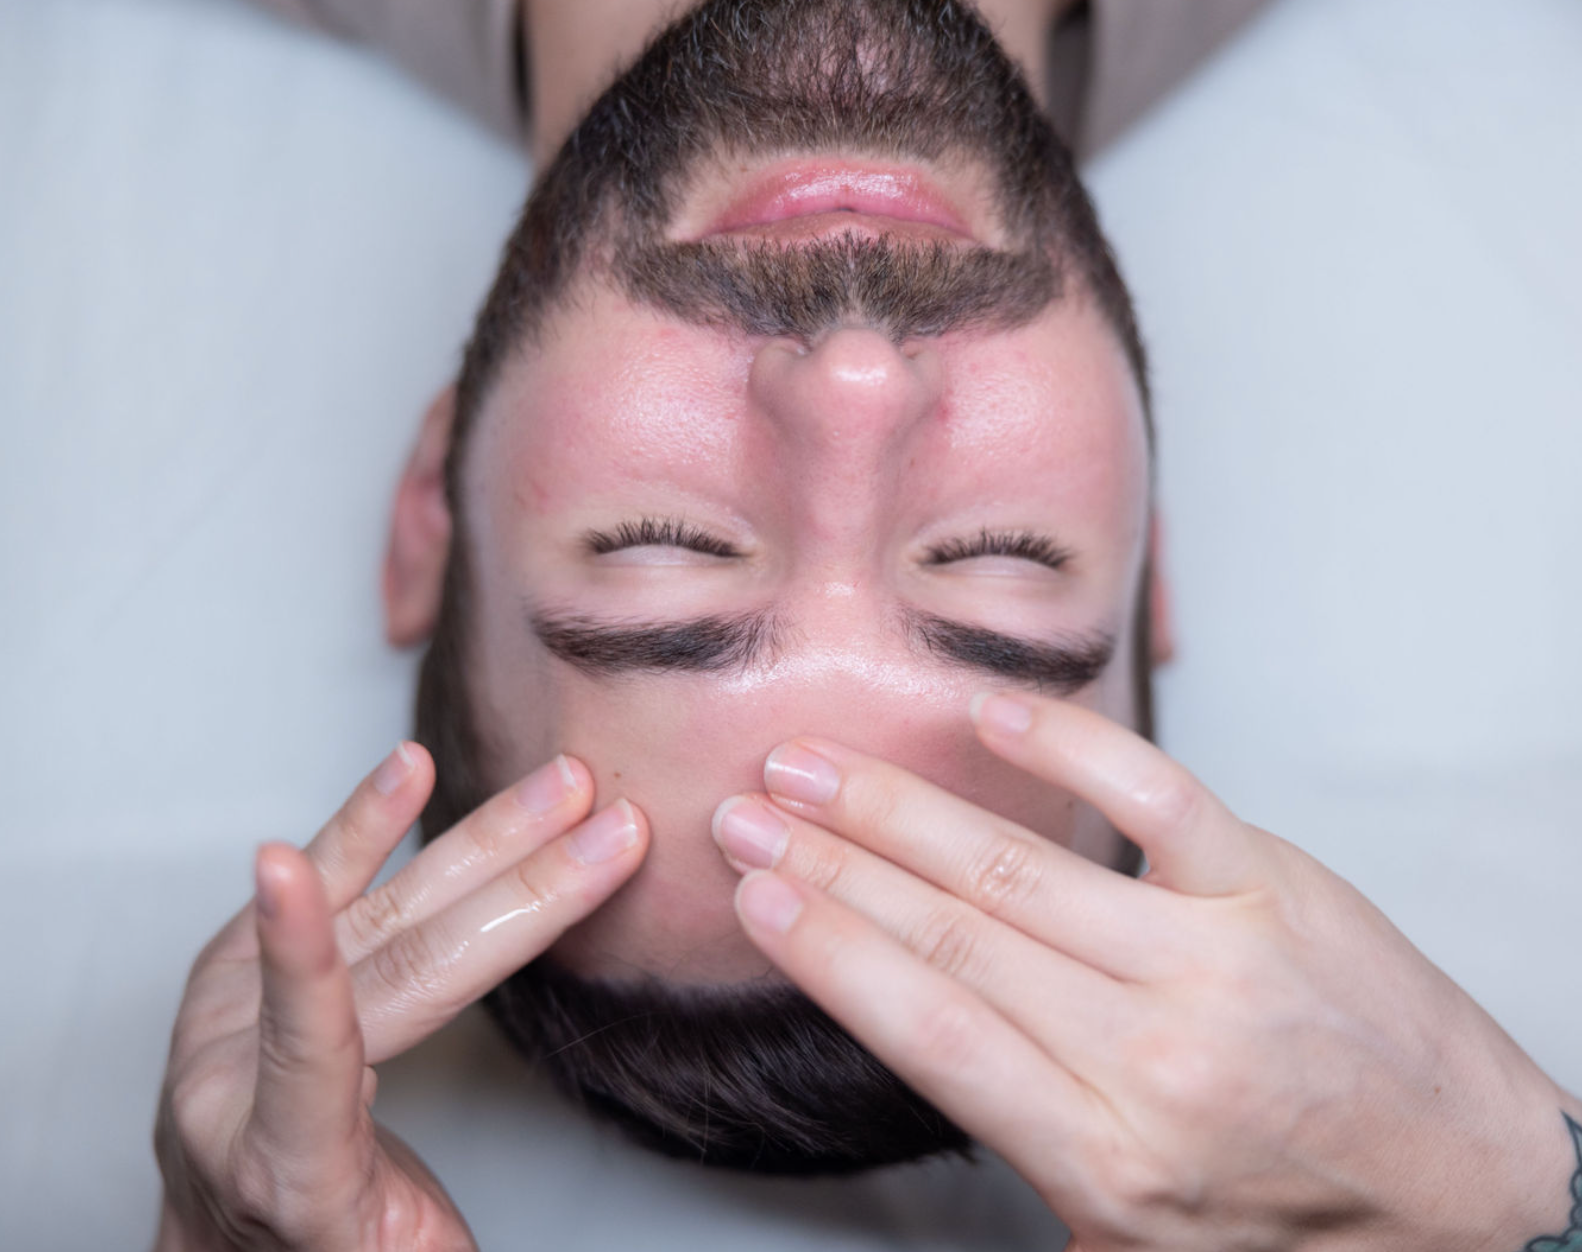
While needling, we'll use a serum targeted to your concerns with growth factors, peptides, and other clinically proven, tested ingredients to promote healing and repair. Many professionals apply natural serums during treatment to help the device glide smoothly.
Right After Treatment (0-24 Hours)
You don't want to put anything other than tepid water or a medium to high molecular weight hyaluronic acid on the skin in the first 10 minutes.
Your immediate care routine:
- Apply hyaluronic acid serum gently
- Use tepid water only for cleansing
- Avoid makeup for 24 hours
- Stay out of direct sunlight
Days 1-4: The Healing Phase
The redness that you experience from microneedling will mostly fade within 48 hours. During this time:
What to use:
- Continue with hyaluronic acid
- Add gentle aloe vera if desired (after day 4)
- Use natural oils sparingly if skin feels dry
What to avoid:
- Retinol and vitamin C serum should be avoided for at least the first 48 hours after microneedling
- Harsh cleansers or scrubs
- Direct sun exposure
Day 4-7: Gradual Introduction
You can technically use aloe vera gel starting from 4 days after your microneedling treatment. This is when you can start adding more natural ingredients.
Safe additions:
- Gentle natural cleansers
- Light natural moisturizers
- Diluted essential oils (like lavender for calming)
Week 2 and Beyond: Full Recovery
You can now go back to your entire routine of cleansers, toners, serums, moisturizers, and active ingredients.
Reintroduce gradually:
- You can begin applying Vitamin C again at least 7 days after your microneedling treatment
- Start with lower concentrations
- Add one new product at a time
Safety Guidelines for Natural Serums
What Makes a Serum "Safe" for Microneedling
When looking for what to apply after a derma roller treatment you must consider: Will it soothe the skin and not produce further side effects? Will it increase the effectiveness of the collagen induction process? Is it safe to be used with the increased transdermal absorption produced by microneedling?
Look for serums that are:
- Free from fragrances and dyes
- Alcohol-free
- Non-comedogenic (won't clog pores)
- pH balanced
- Made with simple, natural ingredients
Ingredients to Avoid After Microneedling
Even natural ingredients can be too strong right after treatment:
Avoid for the first week:
- Essential oils at full strength
- Rosemary oil is better avoided after microneedling unless in a very dilute form as the skin is already in a state of irritation
- Citrus-based serums
- Strong herbal extracts
Natural acids to postpone:
- Fruit acids (even from natural sources)
- Willow bark (natural salicylic acid)
- Lemon or orange extracts
Patch Testing Is Key
If you'd like to use vitamin c serum directly after microneedling, we recommend doing a small spot test on your arm to see how your skin reacts. This applies to all serums, even natural ones.
How to patch test:
- Apply a small amount to your inner wrist
- Wait 24 hours
- Check for redness, itching, or irritation
- Only use on your face if the patch test is clear
Natural Serum Recipes You Can Make at Home
Basic Hydrating Serum
Combine aloe vera with a carrier oil that works for your skin type and a few drops of nourishing skin essential oils for a healing and hydrating homemade face serum that's perfect for daytime.
Ingredients:
- 2 tablespoons pure aloe vera gel
- 1 teaspoon jojoba oil
- 2 drops vitamin E oil
- 1 drop lavender essential oil (optional)
Instructions:
- Use a funnel to pour ingredients into a small bottle with a dropper lid
- Shake well before each use and apply to clean, damp face
- Use serum within 2–3 months. Store in the refrigerator for a cooling effect
Post-Microneedling Healing Serum
Ingredients:
- 3 tablespoons hyaluronic acid serum (store-bought base)
- 1 tablespoon pure aloe vera gel
- 3 drops vitamin E oil
Use: Apply gently after microneedling treatments for the first week.
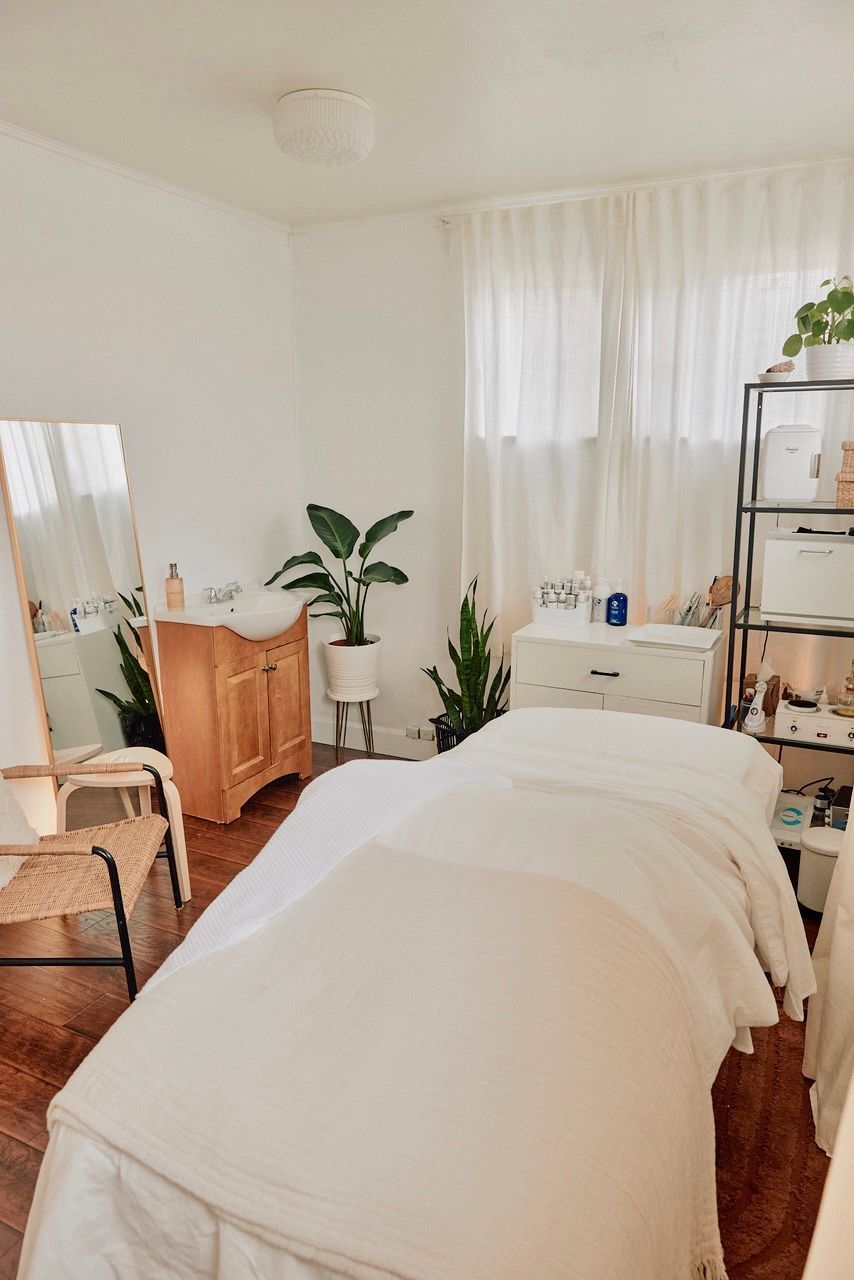
Professional vs. At-Home Microneedling with Natural Serums
Professional Treatments
Using an electronic device, we'll select the appropriate needle length (anywhere from .25mm to 2mm) based on the area of the face we're treating and the concerns we're addressing. Professional treatments offer:
Advantages:
- Deeper penetration for better results
- Professional-grade natural serums
- Expert guidance on which serums to use
- You'll receive a post-care kit with everything you need to care for your skin following the treatment
At-Home Treatments
At-home rollers feature needle lengths of a maximum of 0.5mm, while pro rollers can go up to 2 or even 2.5mm. At-home microneedling can be effective when done safely.
Best practices:
- 0.2 or 0.3mm needles are fine for at-home microneedling – 0.5mm needles are not
- Use only sterile, natural serums
- Do not share your dermaroller
- Replace rollers monthly with regular use
Timeline: What to Expect When Combining Microneedling with Natural Serums
Week 1: Initial Healing
- Day 1-2: Redness and sensitivity (normal)
- Day 3-4: Some mild flaking in 3-4 days
- Day 5-7: Skin starts to calm down
Week 2-4: Active Repair
- Your skin will continue to generate collagen in response to the procedure for the next 28 days
- Natural serums enhance this healing process
- Gradual improvement in skin texture
Month 2-3: Visible Results
- Smoother skin texture
- Reduced appearance of scars and fine lines
- More even skin tone
- Enhanced glow from natural ingredients
Long-term Benefits
Studies indicate that microneedling results can last several months to years, depending on factors such as skin type, the condition being treated, and the depth of the treatment. Natural serums help maintain these results longer.
Common Myths About Natural Serums and Microneedling
Myth 1: "Natural Always Means Gentle"
Reality: Some natural ingredients can be very strong. Always patch test and start slowly.
Myth 2: "You Can Use Any Natural Product Right Away"
Reality: Many cosmetic companies add a dermaroller to their existing range of serums without ever considering the properties of the treatment. Timing matters a lot.
Myth 3: "Homemade Is Always Better"
Reality: While DIY serums can be great, professionally formulated natural serums often have better stability and effectiveness.
Myth 4: "More Natural Ingredients = Better Results"
Reality: Simple formulas often work better, especially right after microneedling.
Troubleshooting: When Things Go Wrong
If You Experience Irritation
Stop using the serum immediately and:
- Rinse with cool water
- Apply pure aloe vera gel
- Contact your skincare professional
- Avoid sun exposure
If You See No Results
Consider these factors:
- Are you using high-quality, fresh natural serums?
- Is your microneedling depth appropriate?
- Are you being consistent with treatments?
- Have you waited long enough to see results?
If Your Skin Breaks Out
Possible causes:
- Clogged pores from heavy oils
- Contaminated products
- Too many new ingredients at once
Solutions:
- Simplify your routine
- Use lighter, non-comedogenic natural oils
- Ensure all products are fresh and clean
Professional Recommendations
At Signal Skin Science in Denver, we're obsessed with understanding the vital role the skin plays in our overall health and wellness, working through an intricate network of cellular processes that communicate and respond to internal and external stimuli.
When to See a Professional
Consider professional treatment if you have:
- Deep acne scars
- Significant sun damage
- Sensitive skin that reacts to products
- Limited experience with microneedling
Questions to Ask Your Esthetician
- Which natural serums do you recommend for my skin type?
- How deep should my microneedling treatment be?
- What's the best timeline for my specific concerns?
- How often should I do treatments?
- Can I combine this with other natural treatments?
Building Your Natural Microneedling Routine
Essential Products to Have
For beginners:
- High-quality hyaluronic acid serum
- Pure aloe vera gel
- Gentle natural cleanser
- Natural moisturizer
- Broad-spectrum sunscreen
For advanced users:
- Multiple molecular weight hyaluronic acid
- Vitamin C serum (start diluted)
- Natural face oils
- Collagen-stimulating peptides
- Growth factor serums
Creating Your Schedule
Monthly professional treatments:
- Best when done in a series of treatments, usually either 3 or 6
- Allow 4-6 weeks between deep treatments
- Use natural serums consistently between sessions
Weekly at-home maintenance:
- Gentle microneedling with 0.2-0.3mm needles
- Focus on hydrating natural serums
- Always prioritize skin barrier health
Final Thoughts
Combining microneedling with natural serums gives you the best of both worlds - the proven results of microneedling with the gentle healing power of nature. Your path to radiant skin begins with informed choices.
The key to success is patience, consistency, and choosing the right natural ingredients for your skin type. Start simple with hyaluronic acid and aloe vera, then gradually add other natural ingredients as your skin adapts.
Remember that the downtime for microneedling is pretty minimal - just 24 hours, making it easy to fit into your busy life. With the right natural serums supporting your skin's healing process, you'll see better results that last longer.
Whether you choose professional treatments or at-home care, natural serums can enhance your microneedling results safely and effectively. Your skin will thank you for choosing ingredients that work with its natural healing processes rather than against them.
Ready to start your journey to healthier, glowing skin? Book a consultation at our Denver studio to learn which natural serums and microneedling approach will work best for your individual needs.