Skincare Order Guide: Layer Products Right Way
The right order for layering skincare products is simple: apply the thinnest products first, then work your way up to the thickest ones. This means cleanser, toner, serum, moisturizer, and sunscreen for morning routines. At night, you skip sunscreen but may add treatments like retinol or face oils.
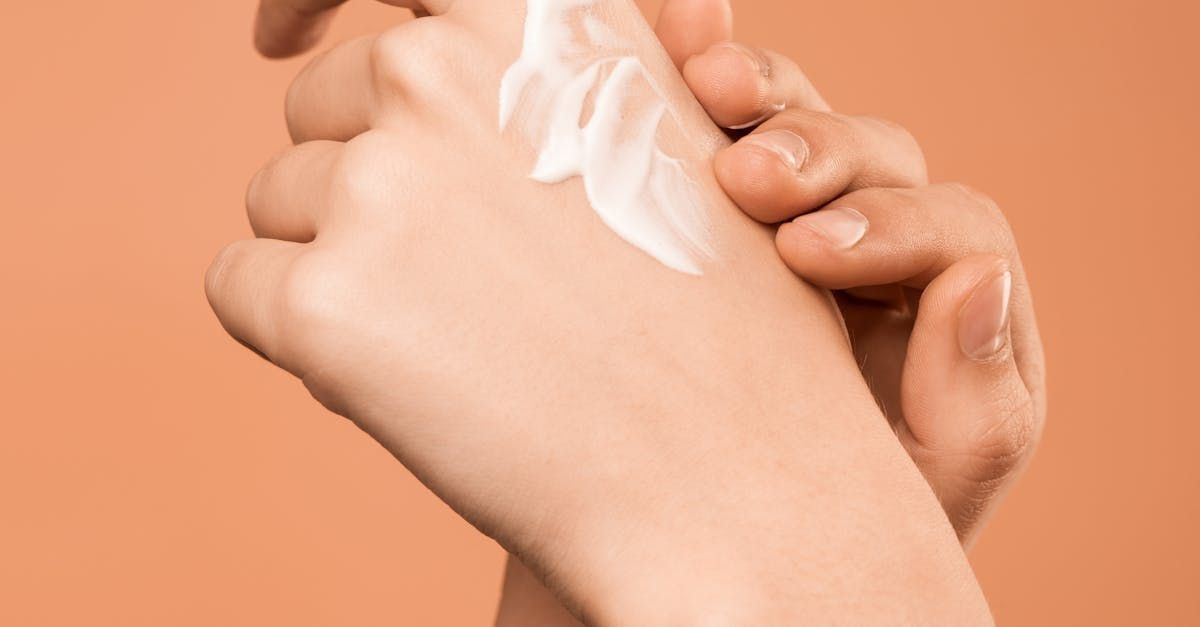
When you layer products correctly, each one can soak into your skin better. This helps them work the way they should. Getting the order wrong means your expensive serums might sit on top of thick creams instead of getting into your skin where they belong.
This guide will teach you the exact steps for morning and evening routines. You'll learn which products to use when, common mistakes to avoid, and tips from skin experts. By the end, you'll know how to build a routine that makes your skin look and feel its best.
Why the Order of Your Skincare Products Matters
Your skin works like a protective wall. It's designed to keep things out, not let them in. When you use skincare products, you want the good ingredients to get through this wall and into your skin. But only small amounts can actually make it through, even with the best products.
According to Dr. Heather Rogers, a board-certified dermatologist, "The order of application is incredibly important. The skin's job is to keep things out, but many of the skin care products we use have ingredients we want to get in."
When you apply a thick cream first, it creates a barrier on your skin. Thinner products like serums can't get through this barrier. They just sit on top doing nothing. This wastes your money and time.
The right order helps each product absorb properly. Think of it like getting dressed. You put on a t-shirt before a sweater, not the other way around. Your skin needs the same approach.
The global skincare market reached $115.65 billion in 2024 and continues growing because people want better results from their routines. Getting the order right is the simplest way to make your current products work better without buying new ones.
The Basic Rule: Thinnest to Thickest
The main rule for layering skincare is this: start with the thinnest products and end with the thickest ones. This rule works because thin products absorb faster than thick ones.
Here's what this looks like:
- Thin products : Toners, serums, essences
- Medium products : Lightweight moisturizers, eye creams
- Thick products : Heavy creams, face oils, sunscreen
"The general rule of thumb, just like your clothes, is lighter to heavy," explains Dr. Mona Gohara, an associate clinical professor of dermatology at Yale School of Medicine. Thicker products protect your skin and seal in the lighter products underneath.
Water-based products also go before oil-based ones. Water and oil don't mix, so oil-based products create a barrier that water-based products can't get through.
Most skincare products have labels that tell you their texture. Look for words like "lightweight," "gel," or "serum" for thin products. "Cream," "balm," and "oil" usually mean thicker products.
Complete Morning Skincare Order
Your morning routine protects your skin for the day ahead. Here's the exact order to follow:
Step 1: Cleanser
Start every morning by washing your face. This removes oil, dirt, and dead skin cells that built up while you slept. Clean skin absorbs other products better.
Use a gentle cleanser that doesn't strip your skin. Massage it on for 30-60 seconds with lukewarm water. Hot water can irritate your skin and cause dryness.
Step 2: Toner (Optional)
Toners help prepare your skin for the next steps. They can add moisture, remove leftover dirt, or gently exfoliate your skin.
Despite what many people think, toners aren't required. "Toner (like most of the steps on this list) is totally optional," according to recent dermatology guidance. If you use one, apply it to damp skin with your hands or a cotton pad.
Step 3: Serum
Serums contain the highest amounts of active ingredients. They target specific skin problems like dark spots, fine lines, or dryness.
For morning routines, vitamin C serums work great. They protect your skin from damage and make it look brighter. Apply a few drops and pat them into your skin.
Step 4: Eye Cream
The skin around your eyes is thinner than the rest of your face. It needs special care to prevent fine lines, puffiness, and dark circles.
Use your ring finger to gently pat eye cream around your eye area. Don't rub or pull on this delicate skin.
Step 5: Moisturizer
Every skin type needs moisture. Even oily skin can be dehydrated. Moisturizer helps strengthen your skin barrier and keeps water from escaping.
Choose a moisturizer that matches your skin type. Oily skin needs lightweight, gel-based formulas. Dry skin works better with richer creams.
Step 6: Sunscreen (Non-Negotiable)
Sunscreen "really isn't negotiable," says Dr. Gohara. Use SPF 30 or higher every single day, even when it's cloudy or you're staying inside.
Apply sunscreen as your last step. Never put other products on top of it, as this can make it less effective. Use about 1/4 teaspoon for your face and neck.
Complete Evening Skincare Order
Nighttime routines focus on repairing and treating your skin. Here's the order that works best:
Step 1: Makeup Remover (If Needed)
If you wear makeup or sunscreen, remove it first with an oil-based cleanser or micellar water. This step helps break down stubborn products.
Step 2: Cleanser
Use your regular cleanser to remove any remaining dirt, oil, and pollution from the day. This gives you a clean base for treatments.
Step 3: Exfoliant or Treatment (2-3 Times Per Week)
Chemical exfoliants like AHA or BHA help remove dead skin cells. Use these 2-3 times per week, not every night. Start slowly to see how your skin reacts.
Step 4: Toner
If you use toner at night, apply it after cleansing but before serums. This helps balance your skin's pH and prep it for treatments.
Step 5: Treatment Serums
Night is the best time for powerful ingredients like retinol, peptides, or niacinamide. These work while you sleep to repair and improve your skin.
According to dermatologist guidance, "The evening would be: makeup remover, cleanser, retinol, [and] moisturizer or night cream."
Step 6: Eye Cream
Apply your nighttime eye cream after serums but before moisturizer. Look for ingredients that help with fine lines or dark circles.
Step 7: Moisturizer or Night Cream
Night moisturizers are often richer than day creams. They help repair your skin barrier while you sleep.
Step 8: Face Oil (Optional)
If you use face oil, it goes last. Oils have larger molecules that can block other products from absorbing. A few drops patted into your skin is enough.
How Long to Wait Between Products
Always give your products "a few minutes to penetrate into the skin before applying your next product," advises Dr. Longwill, "as you do not want any ingredients to 'deactivate.'"
Wait 30 seconds to one minute between each step. This prevents products from mixing together and causing them to pill or ball up on your skin.
You don't need to wait long periods between products. Just make sure each layer feels absorbed before adding the next one. If a product still feels wet or sticky after a minute, you might be using too much.
Some signs you should wait longer:
- Products are rolling or pilling off your skin
- Your face feels sticky or heavy
- Makeup doesn't apply smoothly over your routine
Common Skincare Layering Mistakes to Avoid
Using Too Many Products at Once
Dr. Levine says "the biggest mistake is layering too many ingredients that, together, can cause dryness and irritation." Start with a basic routine and add one new product at a time.
Mixing Conflicting Ingredients
Some ingredients don't work well together:
- Retinol + Vitamin C (use at different times)
- Benzoyl peroxide + Retinol (can cancel each other out)
- AHA/BHA acids + Retinol (too irritating together)
Applying Products to Dry Skin
Apply serums and treatments "to damp skin. Damp skin absorbs product better, allowing the product to work its best." Pat your skin dry after cleansing but leave it slightly damp.
Using the Wrong Amount
More isn't always better. Using too much product can cause irritation and waste money. Start with small amounts and add more if needed.
Skipping Patch Tests
Always test new products on a small area of skin first. Wait 24 hours to see if you have any reaction before using them on your whole face.
Customizing Your Routine by Skin Type
Oily/Acne-Prone Skin
- Use gel or foam cleansers
- Choose lightweight, oil-free moisturizers
- Try salicylic acid or niacinamide serums
- Don't skip moisturizer - dehydrated skin makes more oil
Dry/Sensitive Skin
- Use cream or oil cleansers
- Look for hydrating ingredients like hyaluronic acid
- Choose fragrance-free products
- Apply products to damp skin for better absorption
Combination Skin
- Use balanced, gentle products
- You might need different products for different face areas
- Start simple and adjust based on how your skin responds
Mature Skin
- Focus on anti-aging ingredients like retinol and peptides
- Use richer moisturizers and face oils
- Don't forget neck and chest in your routine
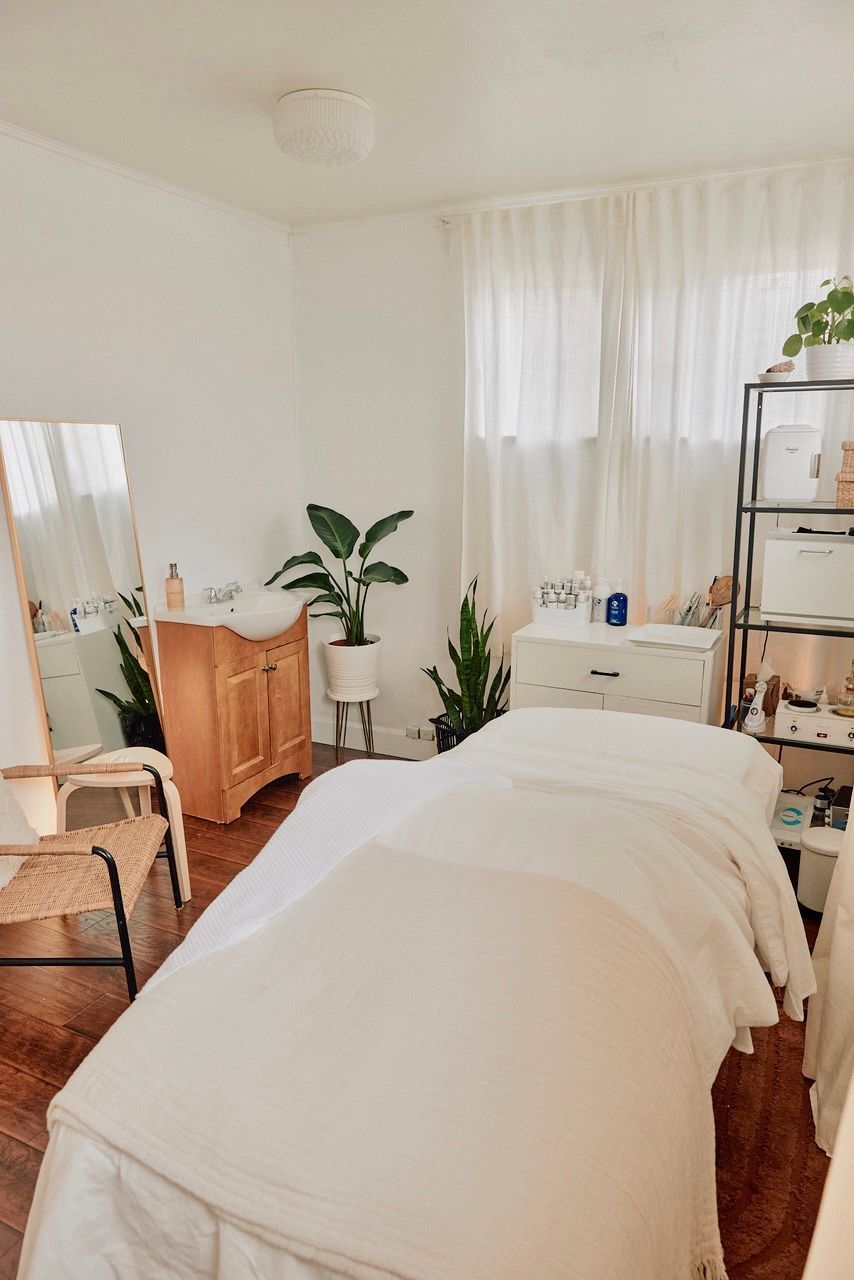
When to See a Professional
Sometimes your skin needs more help than what you can do at home. Consider seeing a skincare professional at Signal Skin Science if you have:
- Persistent acne that doesn't improve with over-the-counter products
- Signs of aging you want to address more aggressively
- Sensitivity that makes it hard to use products
- Specific concerns like melasma or rosacea
Professional facials can complement your home routine with deeper treatments and expert product recommendations tailored to your unique skin needs.
Building Your Perfect Routine
Start simple with just cleanser, moisturizer, and sunscreen. This covers the basics of clean, hydrated, protected skin. Once this routine feels comfortable, you can add treatments like serums or exfoliants one at a time.
Pay attention to how your skin responds to new products. Good signs include:
- Smoother, softer texture
- More even skin tone
- Less irritation or breakouts over time
- Makeup applies more smoothly
Bad signs that mean you should stop or change something:
- Increased redness or irritation
- New breakouts that don't improve after 4-6 weeks
- Excessive dryness or oiliness
- Burning or stinging when applying products
Remember that skincare results take time. Most consumers see results after 4-12 weeks of consistent use, so be patient and stick with your routine.
Final Thoughts
Getting your skincare order right is one of the easiest ways to improve your results without buying new products. The simple rule of thinnest to thickest works for almost everyone, regardless of skin type or concerns.
Start with a basic morning routine of cleanser, moisturizer, and sunscreen. Add a gentle evening routine with the same products plus any treatments your skin needs. Build slowly and pay attention to how your skin responds.
With the global skincare market growing rapidly as consumers become more educated about proper routines, there's never been a better time to get your layering technique right.
Remember: consistency matters more than having lots of products. A simple routine done correctly every day will give you better results than a complicated routine you only do sometimes.
Ready to take your skincare to the next level? Book a consultation at Signal Skin Science to get personalized advice for your unique skin needs.